 Home
Home

 Artists
 Search
 Recent
 Random
 Posts
Posts
 DMs
DMs
 Tags
Tags
 Random
 Importer
 Import
 FAQ
FAQ
 Account
 Register
 Favorites
 Login
Login

Month of boredom: bendy doggo WIP 05 (Patreon)
Content
First I'll show you what a huge difference a shader and displacement can make (other than the obvious visual one), so here's what we had last time, without displacement:

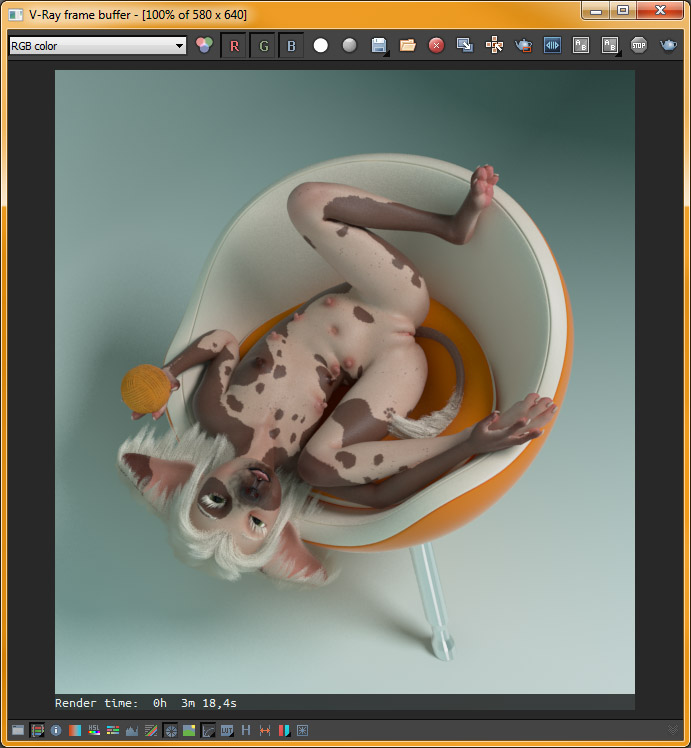
And here it is with displacement, shaders, and LOOK I FINALLY ADDED EYES because I'm pretty sure I won't have to move the head anymore.

Note how it now takes like 3 more minutes to render (this is also why I didn't assign the skin shader sooner - to speed up the previews of other things). XD
A skin shader has two reflection layers, and they're both glossy (blurry). Glossy reflections can be very slow to render. In this entire scene, I have set the sampling quality on all reflections to 64, while it's most often 16 or 32 (it depends on the scene's lighting conditions; this time they required more sampling). Let's try lowering the skin shader's both reflection layers' sampling to 32.
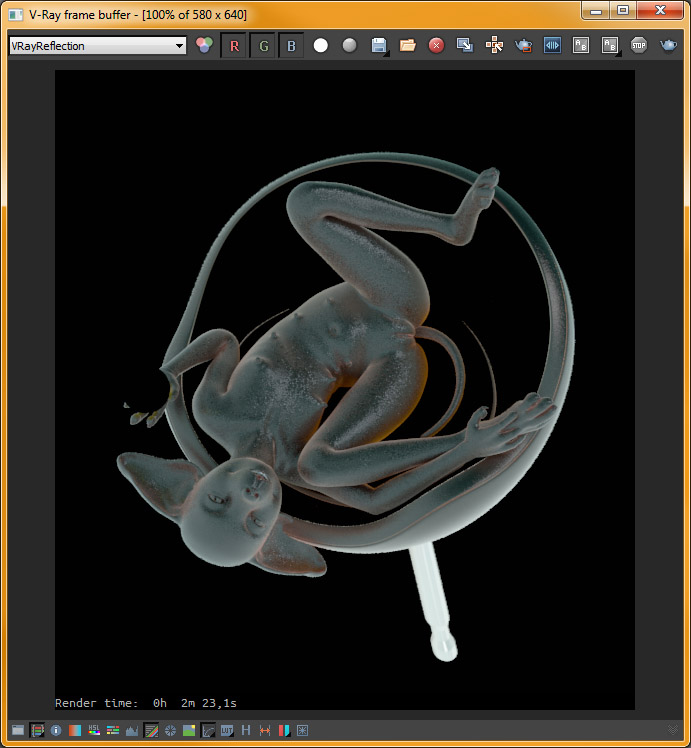
But first, here's the reflection render element with a double gamma applied (very bright and low contrast):

This is the raw reflection data of every shader in the scene. I use this to emphasize reflections later during postwork, and to inspect reflection quality, like we're doing right now. As you can see, the reflections are mostly very smooth, and where you can see some speckling, those areas have nearly no reflections actually visible, so they're rendered adaptively at a lower sampling rate. Just to speed things up at no visual quality loss.
That was 64 samples. Now let's see how it goes with 32...
That's a considerable drop in reflection quality, but it also took over a minute less to render. This is nice. But does this quality drop affect the actual image?

Not unless you compare them under a microscope! The reflections are very weak after all. So that's a minute easily shaved off. I could probably set every shader's reflection quality to 32 and reduce the render time some more, but the chair isn't very reflective in general, so it doesn't take that much time to render, and stuff like Jinjing-Yu's tongue or teeth take a very tiny area, so that's all fine. Besides, 2:23 is a pretty good render time. IT WILL GROW ONCE I ADD THE HAIR NAD FINISH THE YARN but hey.
Now that this is boding well, I shall get back to ZBrush and finalize the pose.
After about 40 minutes and over 300 steps, this...

Became this:

Now we can import this finalized pose into 3ds Max and finish the yarn, add the hair, add some render elements, and that'll be ready for rendering. I guess. Maybe. I might still want to tweak some stuff before that. Anyway, here it is rendered:

I don't think I like the string. :^) Too messy. Might just redo it, but it wasn't fun to make at all. :^) Oh well! :^D Yeah, I'll simplify that soon.
Anyway, let's hide the string for now and add the hair then. In order to do that, I'll just merge it in from the neutral scene and morph it into this pose. Easy-peasy. There:
*laughs in ridiculous*
Do note the increase in render time tho; hair is slow as well. ._.
Anyway, I don't use hair simulation. It's too fiddly to set up, and doesn't work very well with my workflow. So in order to make the hair behave properly, I need to "pose" it manually by brushing. After another 30-40 minutes, we have this:

Still not perfect, but that's all the arting for today. I'll finish the hair and add the string tomorrow or so.
Enjoy maybe! :^D
Files
