 Home
Home

 Artists
 Search
 Recent
 Random
 Posts
Posts
 DMs
DMs
 Tags
Tags
 Random
 Importer
 Import
 FAQ
FAQ
 Account
 Register
 Favorites
 Login
Login

Month of boredom: bendy doggo WIP 04 (Patreon)
Content
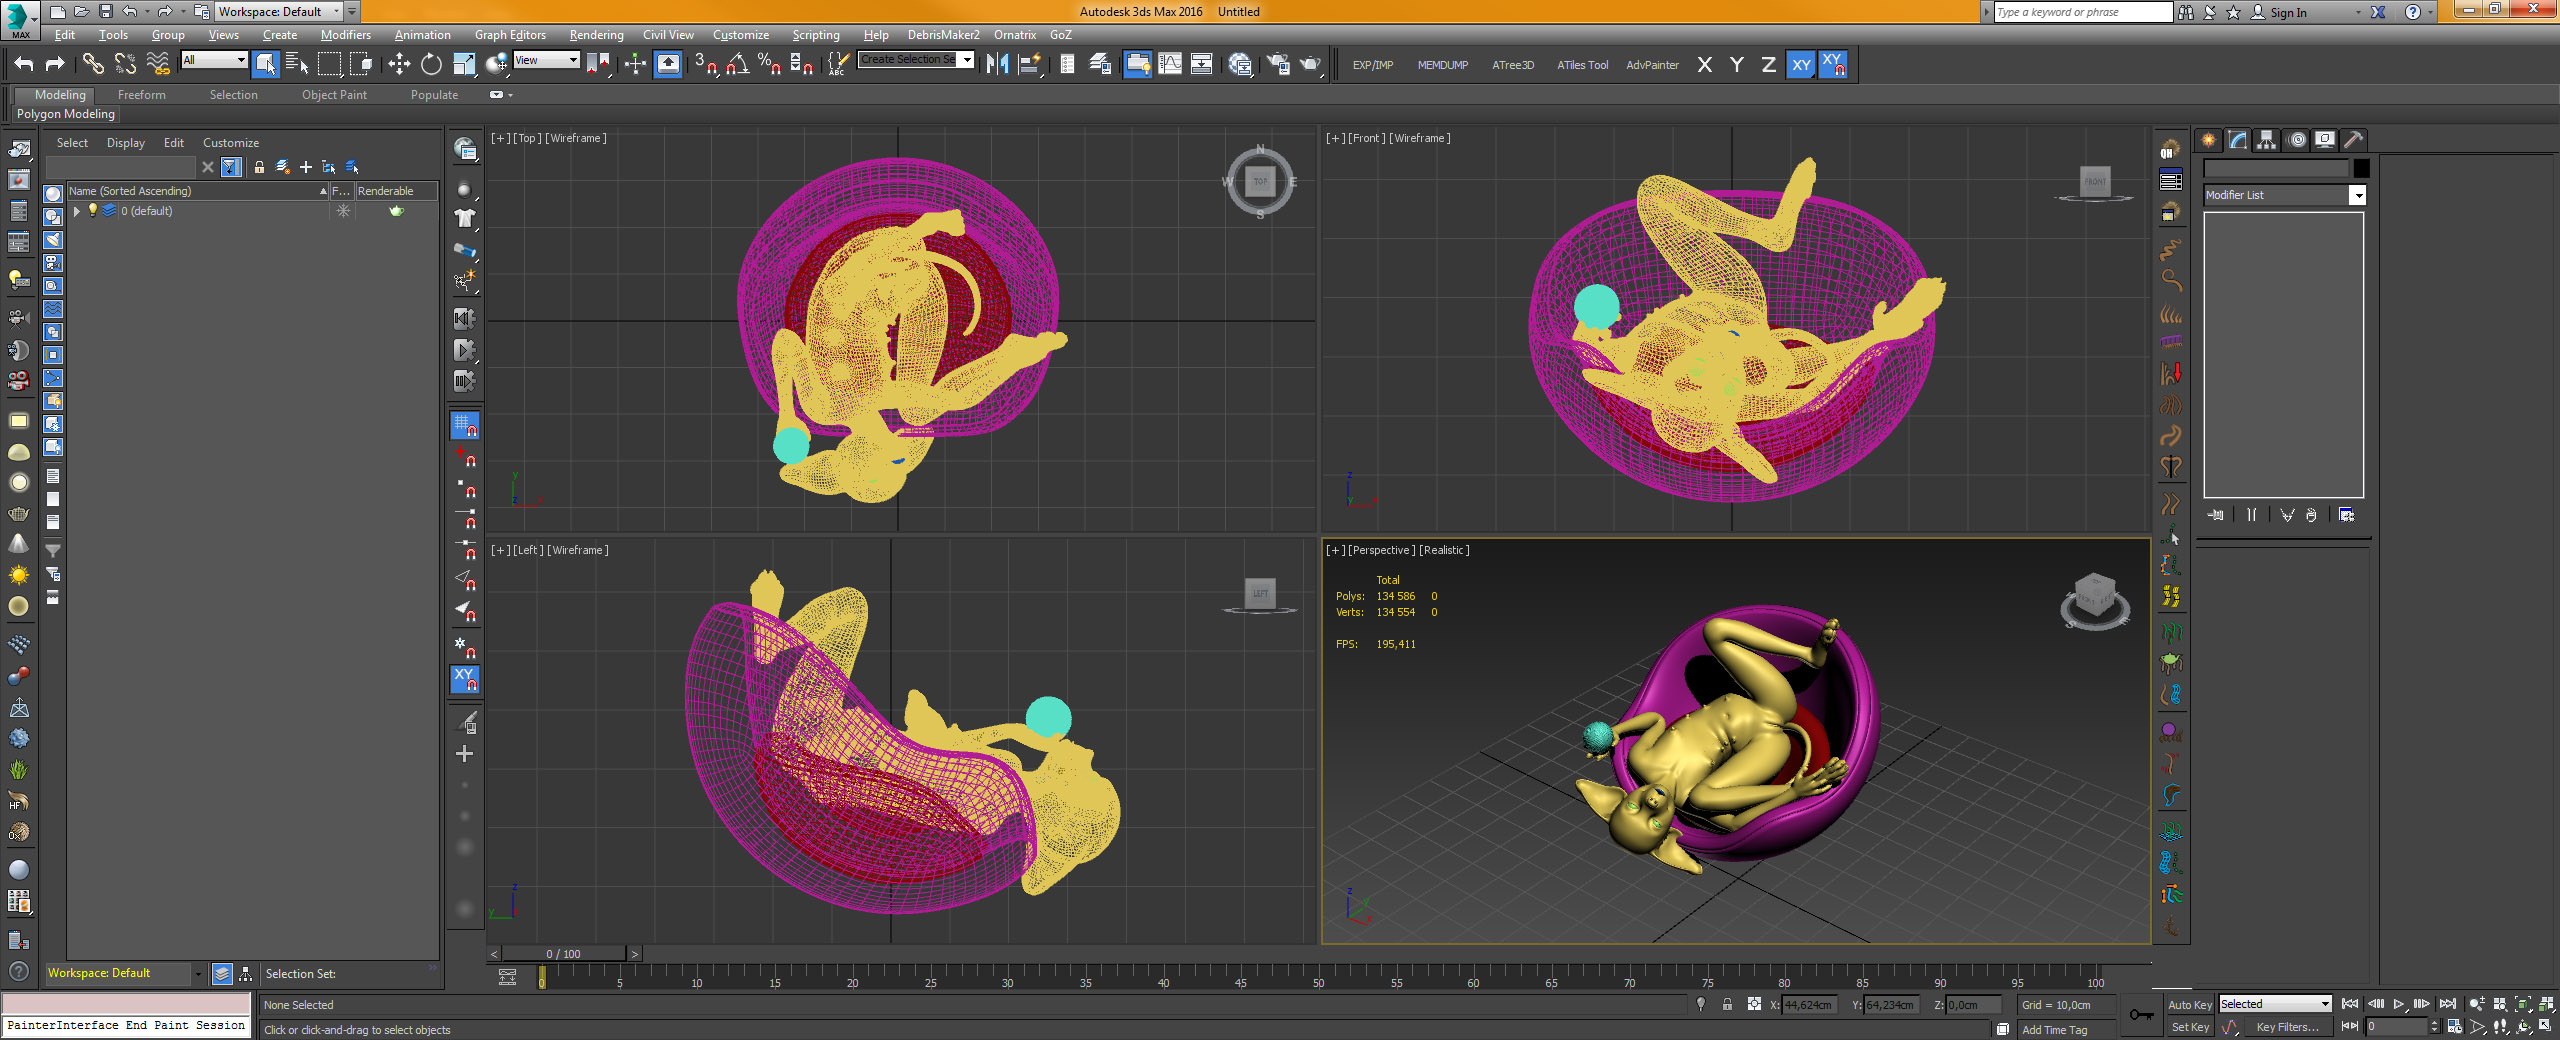
The first thing to do is obviously to export everything from ZB, but that's nothing interesting, so I won't show how I do that. XD The second thing is just as bad, because it involves importing all the things to Max. Once that is done, we get something like this:
Now with 100% more ridiculous colors! So after fixing that (and it doesn't really matter, but I like having consistent colors for objects), setting up a camera and aspect ratio, we get this:

Temporary black eyes woooooo! The yarn will probably have a different color as well, but I'll have to pick that once I have more of a palette established. Anyway, we need a studio or room or otherwise an environment here.
Step 1: draw a rectangle in the front view.

Step 2: fillet the corner that will be visible in the frame (for aesthetics).

Step 3: extrude the resulting shape so that it's actually 3D, and rotate the view confusingly to show the audience that it works.

Step 4: add a shell modifier to make the walls more solid. This will prevent all kinds of light leaks around the corners.

Et voila. We have a studio-room combination (that fillet is the studio bit; this will look more like a flat background than an actual room). Now we will only place a large light source on the ceiling, like so:

And now we have this in our camera viewport:

We are ready to do the first preview render! Here's what we have:

I've also enabled the frame stamp thingy so that you can see the render times, and how they will grow over time. Now, I think that chair needs some legs, so let's do that.
The easiest way to handle that is to draw a spline in a side view, and give it thickness. Then copy it by rotating it around the chair's pivot point (the object's center, pretty much). Here's the result:

Let's just add some mild machining details to those legs by editing them manually.

And there we go! Of course the legs messed up the previously established composition, so I had to move the camera a little. This sometimes happens several times while making a background. XD
NOW WE NEED SOME SHADERS (a.k.a. materials but I like calling them shaders because it's a cooler word so there).
In this case, I will first set up a shader for the room thing. We will also need UVs on it because I want to assign a gradient map to it. While it is possible to have object-space, world-space, or screen-space mapping on any map, having actual UVs will give us more control here. I want the room to become darker the further away from the camera, and off-white on the other side. Vaguely the same colors, still. And here's the result:

Much clearer, and much more balanced. The shader is incredibly simple, so I won't be showing that here (you'll see it later among other shaders).
Here's also a fun alternative angle; looks kinda nice too:

That's not a shadow - that's our gradient map affecting the room.
After a while, the shaders are done! Except the yarn; that'll be slightly more work. But here's the result:

Note how the render time has pretty much doubled now. Here's also the current view of the material editor:

Everything in the upper half will be assigned to Jinjing-Yu, and everything in the lower half is scene-related. I always lay out my materials like this. The lower-right quarter is for technical stuff - stuff like effects, environment maps, etc. We have none of that stuff in this piece tho.
That's all the wörk for today! I'd probably do more if I weren't in the middle of playing 7 Days to Die - that game is a serious productivity hazard. ._. And I guess I did a decent amount of work today anyway! :D
Enjoy? :^)
Files
