 Home
Home

 Artists
 Search
 Recent
 Random
 Posts
Posts
 DMs
DMs
 Tags
Tags
 Random
 Importer
 Import
 FAQ
FAQ
 Account
 Register
 Favorites
 Login
Login

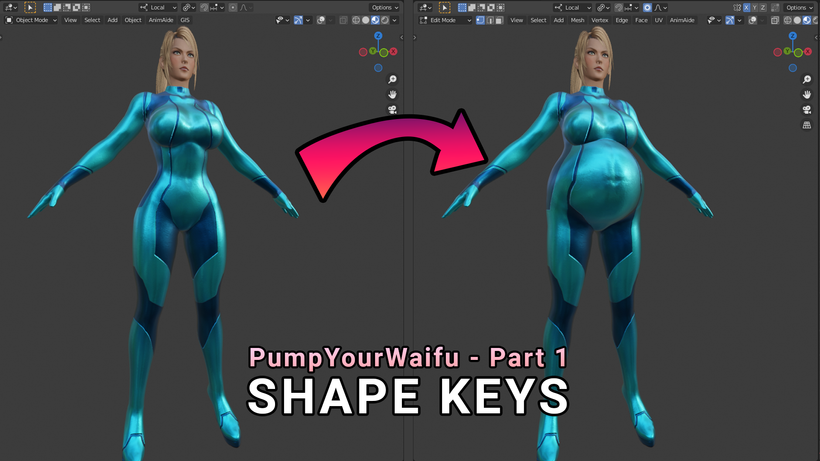
TUTORIAL TIME: PumpYourWaifu - Part 1 (Patreon)
Videos
-
Samus_Tutorial.mp4
Downloads
Content
Before we start I just want to say that although what's gonna be explained here it's not really hard to comprehend as I will try to use non-technical language as much as possible, I may have unintentionally missed some basic stuff that I may consider obvious.
What I mean is that I still suggest to take a simple Blender starter tutorial before going into this one, just to have a a better idea of the tool.
[ Even tho it starts being outdated for some stuff, the tutorials from BlenderGuru on youtube are always a good starting point ]
Also, I wanted to add that I had in mind to do a separeted Patreon Tier for supporters that are interested in making their own animations, maybe in the future, for more advanced stuff, but for now take this one with you and start pumping up some waifus on your free time! :)
I'll include a .blend file in this post for you to download and mess around with this Samus test we'll be doing.
If you want to search for good 3D models there are quite a few online, but I highly suggest to use the ones you can find on SMUTBA.SE because they are made for Blender and usually come with very good rigs for animating.
Let's start, shall we?
===================================================================
- Shape Keys: what are theese?
Shape keys ( sometimes called Blend Shapes ) are a defined variation in position of vertices of a given mesh. We may consider it a different "state" of the vertices that compose a 3D object.
For example, let's suppose we have this cube which is composed of 8 vertices

By acessing the EDIT MODE (Press TAB while the object is selected in OBJECT MODE) we can rotate it by 45° degrees (or move them around as we please).
We didn't add or deleate any vertices in our cube, but just changed their position in space.
Essentialy a Shape Key let us store this same transformation inside the object data, so we can later on transition between the two states of the same shape (ex. standard -> rotated by 45°)
To do that, just look in the right side of the window to find the Shape Keys menu.

At the start you will see that is empty, but by pressing on the plus ( + ) icon a new Shape Key will be created with the name "Basis": this will function as our "rest" shape, which is the base mesh data of our object.
If we press the plus (+) again, a new one will pop up called "Key 1": we can edit this one to make our first shape key.
ADDING OR REMOVING SHAPE KEYS MUST BE DONE WHILE IN OBJECT MODE
Once we created the "Key 1" shape key we just click on it to get it highlighted while we are still in object mode.

After that, we can switch to EDIT MODE by pressing TAB and start editing. Ensure that on the top left corner of the 3D viewport we have "Key 1" showing. (check the red boxes in the next image)

Ok now, how to move around vertices would be too much to explain in a few words here, but some basic keyboard shortcuts:
Scroll wheel - Zoom
PRESS Scroll wheel - Orbit around selected object
. - Focus view on active selection
1/2/3 - Changes between vertex/edge/face selection mode
TAB - Switch Edit/Object mode
LEFT CLICK - Select vertices
A - Select all vertices of the active mesh
G - Move around vertices
R - Rotate vertices
S - Scale Vertices
Alt + S - Inflate mesh
Alt + Left Click - Select consecutive points/edges/faces
O - Activates "Proportional editing" which let us make nerby vertices follow edits smoothly (influence can be adjusted with the scroll wheel)
After doing our edits, let's go back to Object Mode by pressing TAB and then by holding the left mouse button on the "Key 1" value we can see that moving left to right will change that value from 0 to 1 making the changes in our object.
CONGRATULATIONS! You've got your first Shape Key going!
But wait, you came hear for expanding waifus right? Then let's do the same with a character model.
From now on, the process may vary depending on the model you choose but it all boils down to the same concept.
Let's open up the .blend file with the Samus model and let's try doing one where her belly grows.
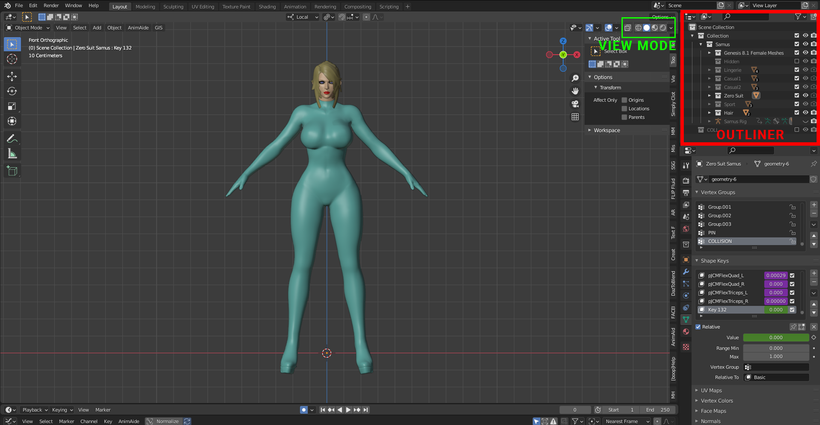
Once you open it you will find this layout.
I highlighted 2 menus just for your interest:
- The green one let's you switch the view mode between 4 different options [ Wireframe - Solid - Textured - Render ]
- The red one is the Outliner where you see all the components visible on the scene. Here you can hide/unhide and organize stuff in Collections (that works like folders to keep stuff tidy )
Now what to do?
Let's select her suit by clicking on it, and in the Shape key menu you will find out a lot of Shape Keys and most of them will be purple since they are driven by other inputs. Ignore them for now, and create a new Shape key by pressing on the plus (+) sign like we did before.
The one I did is the "Key 132" but you can add a new one to try yourself.
Once a new shape key gets created, select it and go into edit mode, again, like we did for the cube.
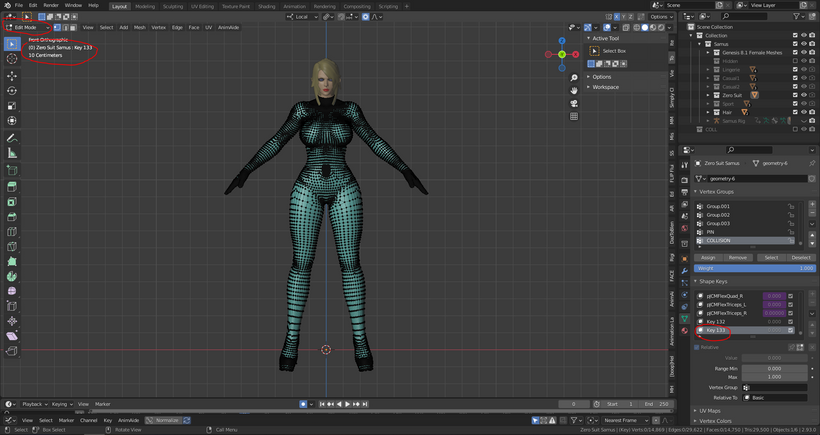
You should see something like this.
Now, let's make her belly puff up!
For this I'll share a video of myself editing it since it's easier to see than to explain in written form eheh
The video can be found in the attachments here as well as the .blend file for you to exercise.
I'll repeat that the model is taken from smutba.se at this LINK and it's not mine! I'm sharing this for you to try and play with it.
====================================================================
If you come this far you really want to learn, and I'm really happy about that!
I look forward on seeing new people join the creator side in this community as anyone will enjoy more options when searching for new inflation/expansion stuff!
There is a lot of stuff to learn, this is just one way to do things and not even 100% complete as there are a lot more aspects to it like sculpting shapes, adding physics, animating, camera and light setups eccecc...
Let me know if you like this and find it interesting. I am really curious about your reception on learning this stuff and make your ideas come to life.
That's why I started in the first place :P
Hope you are having a wonderful time!
And thanks again for all the awesome support!! <3
Cya!
EDIT: The .blend file download is available HERE on Mega